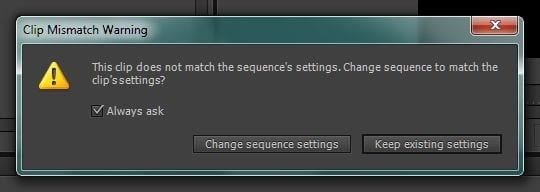
How to save a sequence setting as a preset in Adobe Premiere Pro Cs6 when getting a Clip Mismatch Warning.

Do you get the “Clip Mismatch Warning” box when you load a file into a timeline in Adobe Premiere Pro telling you to Change sequence settings or Keep existing settings? If you keep the existing setting, the video doesn’t fit correctly in the window and it will not play perfectly. If you change the settings, you don’t know what the settings were the next time you want to make a video using those settings. You want to keep the file’s setting as a preset to use again, but there isn’t an obvious way to do it.
In this tutorial, I will show you how to create and save a preset from the sequence to use again. I will be using Premiere Pro CS6, but this should work in any recent version of Premiere Pro.
Save A Sequence Setting As A Preset In Adobe Premiere Pro Cs6 – Clip Mismatch Warning
by Delbert Young
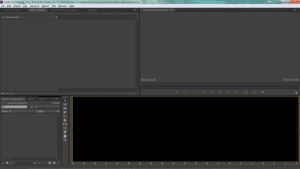
1. For this, I’ll begin from scratch.
You might have everything loaded and want to jump in at a later step. I opened Premiere and am beginning with nothing.
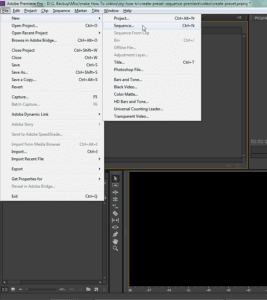
2. Create a new sequence to use for the video file.
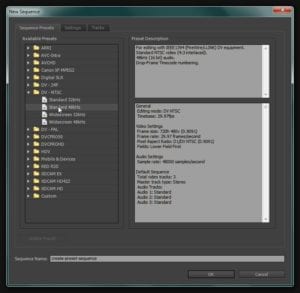
It doesn’t matter what preset you select as long as it’s the wrong preset. A good one to use would be the preset which gives you the “Clip Mismatch Waring” dialog box. Click OK
3. Import the video file into the Project Window.
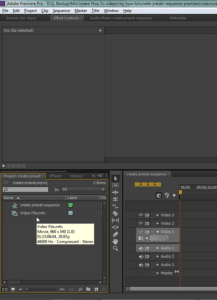
4. Attempt loading the video file into the timeline.
You should get the “Clip Mismatch Warning” dialog box. If not then you already have the correct settings and a preset. Or, you have removed the check from “Always ask” in the Clip Mismatch Warning” dialog box. Another possibility is you are loading the file into a timeline where you already instructed Premiere to change the settings. In this case, delete the sequence and begin with a new sequence.
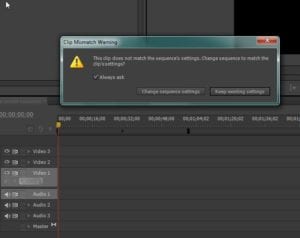
5. In the Clip Mismatch Warning dialog box you have two options:
“Change sequence settings” and “Keep existing settings.” Select “Change sequence settings.” The file will load but will put the correct settings into the sequence you created.

6. Right-click the newly created sequence which now has the correct settings for the preset you want to save.
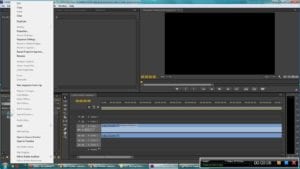
Save a Sequence Setting as a Preset in Adobe Premiere Pro Cs6 – Clip Mismatch Warning
6. Find “Sequence Settings…” and select it.
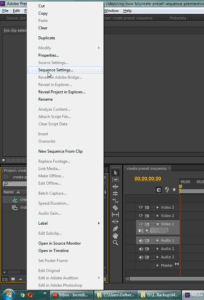
7. The “Sequence Settings” dialog box opens with all the settings you will need.
Record all the settings. I took a snapshot of the box. If you don’t have an app for that, you could use your cell phone. Or, you could do old school and write them all down. Get them all. Some will be grayed out, but record what the gray is, i.e. likely “Editing Mode:” will be grayed out but not to the setting you need. This is important. Record every setting.
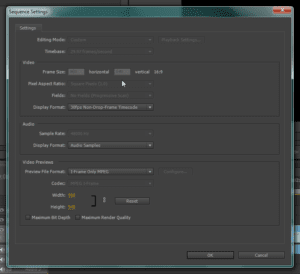
8. Once you have all the settings recorded,
close the dialog box and create a new sequence from scratch (ctrl + n). Select the “Settings” tab from the top tabs. Go through each setting making certain every setting is identical to the settings you recorded from the “Sequence Settings” dialog box.
9. Once every setting is identical, select “Save Preset…” to save your new preset.
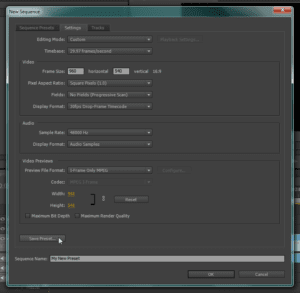
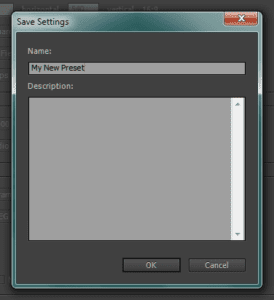
10. A dialog box will come up to “Save Settings.” Give it a unique name and a Description if you like.
11. It will be saved into the “Custom” folder in the “Available Presets” found in the Sequence Presets tab
and listed among all other presets in the dialog box. Premiere should have opened the preset in the folder for you when it created your preset.
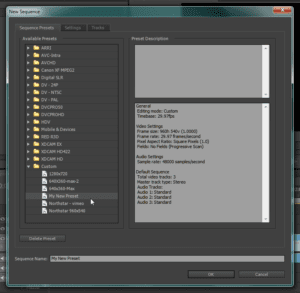
Your new preset is ready to use. Test it. Click “OK’ and load the video file into the new timeline. You should not get any warning from the “Clip Mismatch Warning” box. If you do, you simply missed a setting. Backtrack until the missed setting is found, correct it, and save the preset again.
Save A Sequence Setting As A Preset In Adobe Premiere Pro Cs6 – Clip Mismatch Warning
Maybe these can help you also.
Convert Audio Cassette To Digital Using Audition
